
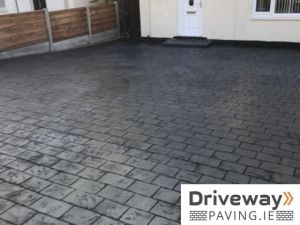
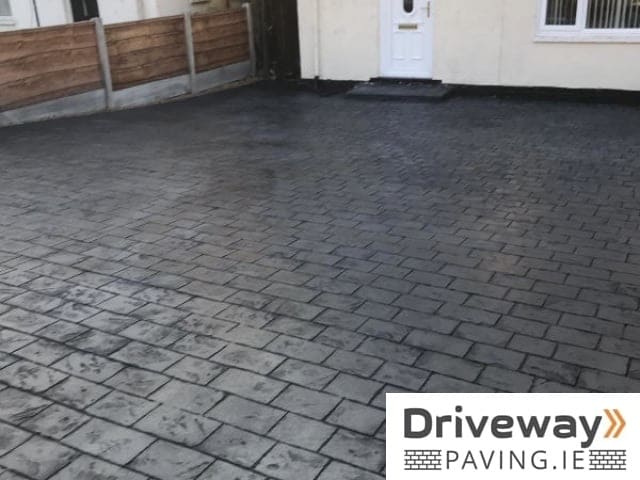
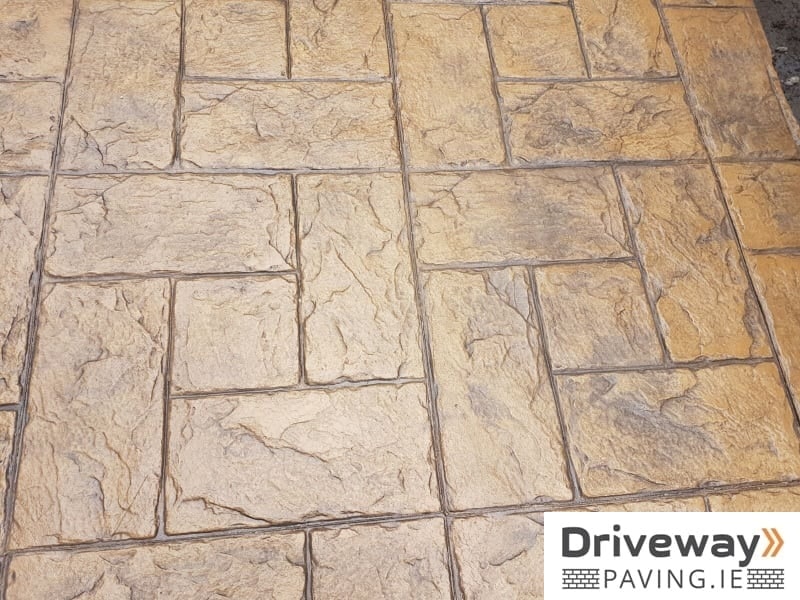
Imprinted concrete or stamped concrete, is concrete that is patterned and textured to mirror brick, stone and flagstone, wood, tile, slate and various other patterns and textures. It is a modern attractive paving method for driveways, patios, and paths currently used in Ireland and all over the world.
In this blog, we will analyze in detail the benefits of having a Pattern Imprinted Concrete (PIC) patio or driveway on your property. Also, in the second part, you can check a variety of options in patterns and colours for your next imprinted concrete project.
Moreover, the installation process will be described step by step, from the preparation of the existing surface to the handcrafted staining for a natural effect. In the last part, you will find snippets of advice on how to maintain your imprinted concrete project.
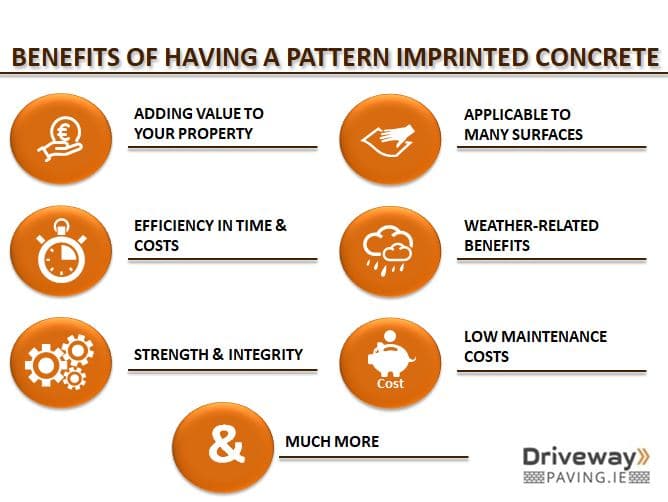
Benefits of Pattern Imprinted Concrete (PIC)
Advantages are plentiful from the application of the patterned imprinted concrete on your outdoor and indoor projects. You can find presented the most significant of them below:
Applicable to many surfaces
The first and most important benefit is that this method can be applied to a large variety of textures and surfaces not only outdoor but indoor as well. The outdoor uses are on patios, driveways, highways, decks and paths.
Efficiency in costs and time
Usually, imprinted concrete can be installed in immense masses, and that is why it requires less time and subsequently lower costs. It is a hassle-free method for inexpensive and fast installation. The price of imprinted concrete can fall between 65 and 80 euros per square meter. Check Cost of Paving a Patio And Cost of Paving a Driveway
Weed and Moss resistance
Another practical point is that it is impossible for weeds and moss to erupt through the concrete to the surface. Weeds’ growth and dirt penetration is avoided thanks to the solid nature of the concrete one dried. The last coating on the surface makes it is stain resistant.
Strength and integrity
The two phases of its installation; hardcore base followed by significant depth of strong concrete ensure the imprinted concrete area will be and stable. These two stages of the installation process eradicate the possibility of any sinking or dislodging of the concrete surface.
Low maintenance costs
Concrete is one of the most durable materials, and even in periods of harsh weather conditions and in areas with high traffic, it requires little to zero maintenance costs. Its hard-wearing on the surface makes it weather resistant and looking new for years.
Increase the value of your property
Like all outdoor patio, driveway, and path paving projects, imprinted concrete can add value to your property and give the best impression to potential buyers visiting. When you choose the best fitting pattern, it is one of the best ways to boost the elegance of your space.
Imprinted concrete patterns and colours
Imprinted concrete was firstly introduced in the 1950s; later, in the 1970s, its popularity increased, and the property owners started seeing it as the new optimal method for customer satisfaction in the important aspects of both aesthetics and budget.
Although in the early days there were limited choices of design and colours; later, as the industry was enlarging more patterns and different types of stains were created to satisfy customers’ requirements. There is currently a wide variety of sizes, styles, and finishings. Depending on your choice of materials and colours you can get an end-result in the style of cobblestone, slate, brick, stone, tile, wood, etc..
Read on to discover the most commonly used patterns, borders and edgings, and colours of imprinted concrete.
Patterns
There are plenty of patterns, colours and designs that can be combined in multiple ways can lead to an impressive and imaginative makeover of your property. Below we have categorized the most popular into five categories.
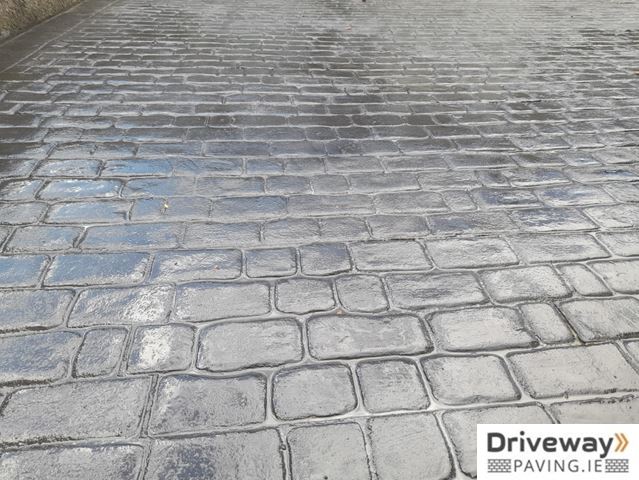
Cobble patterns
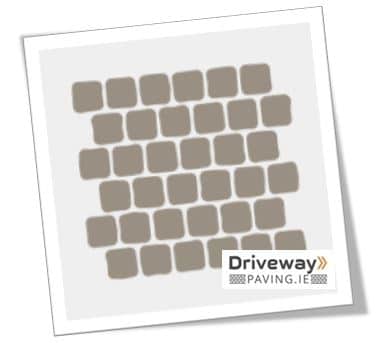
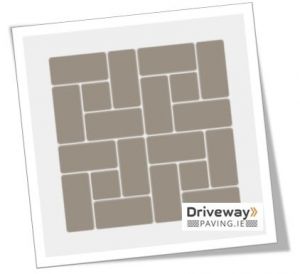
Cheshire Cobble (see on the left and below) is a pattern with cobbles placed next to each other in parallel lines and with the edges of the cobbles never being aligned vertically. Usually consists of two or three different sized cobbles surfaces with the same width but different length. This pattern can be ideal for walkways, driveways, paths, pedestrianised areas, etc.
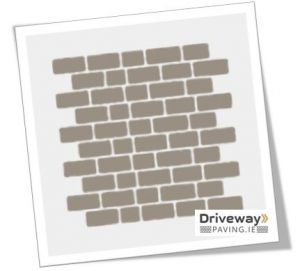
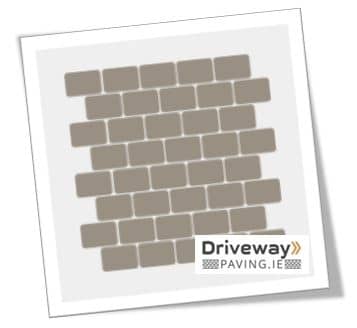
The next one, Farmyard Cobble (see on the right) consists of same sized squared cobbles surfaces that are installed in parallel lines with their edges not aligning vertically. Its design simplicity and neutrality makes it the best choice for fast concrete projects in your farm areas, or country cottage driveway.
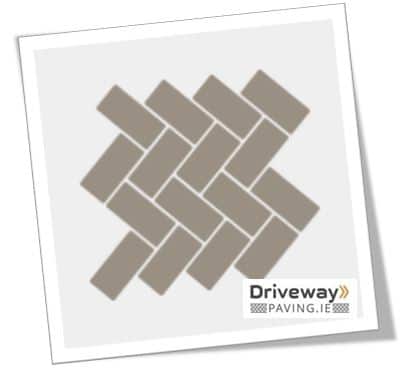
In the Lakeland Weave (see on the left) pattern, there is herringbone at 90 degrees cobbles surfaces imprinted, all imprinted surfaces are of the same size and every second line placed parallel looking in the same direction. It is a wire-cut common brick texture with sharp corners and few indentations or irregularities over the surface.
The Large Cobble pattern is the same as the above described Cheshire Cobble and Farmyard pattern with the only difference that the size of the cobbles are of medium size and every third one 40% smaller compared to the others. It is perfect for interiors and exteriors surfaces.
The London Cobble pattern is replicating small squared cobbles with soft edges. Its effect fits perfectly for surfacing your fireplace and its surrounding area.
The Old English Cobble pattern (see on the middle left) consists of cobbles placed horizontally next to each other like the Cheshire Cobble pattern; the differentiating point is that every pair is internally connected with an oblique line. It can be a gorgeous option for your home facades.
The last one in this category is the Smooth Round Cobble (see on the first from right), it is similar to the previous one with slightly broader and shorter sides. This is a traditional, lightly textured cobble pattern that can be ideal for residential and commercial areas.

Brick and tile
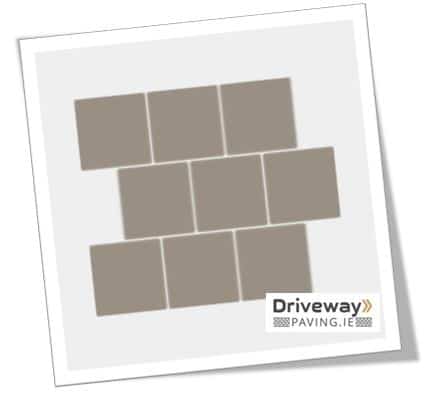
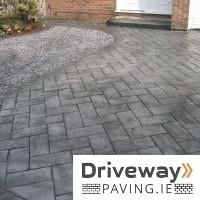
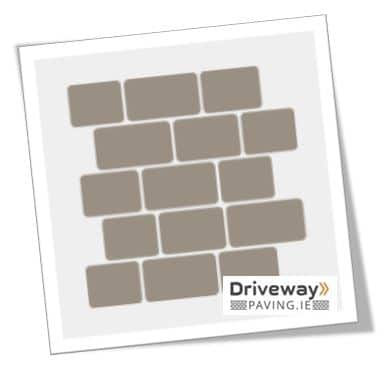
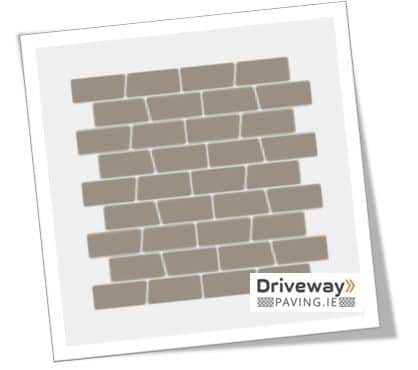
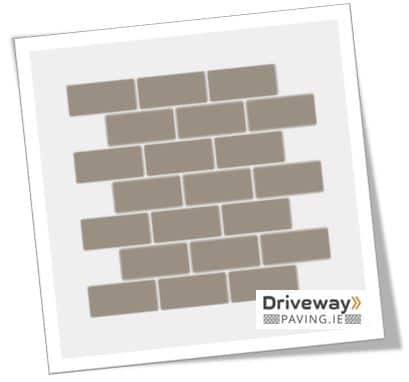
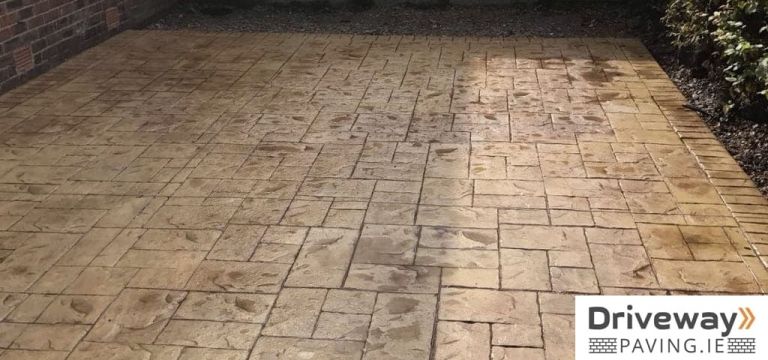
The Running Bond is the most commonly used pattern that consists of same-sized rectangular brick or tile surface placed parallel to each other with its vertical sides not being aligned. Like the Farmyard Cobble pattern, its design simplicity makes it option perfect for residential, commercial, and rural ambience.
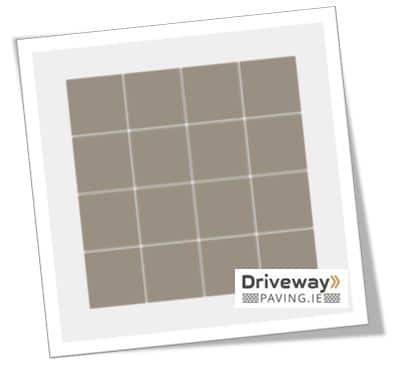
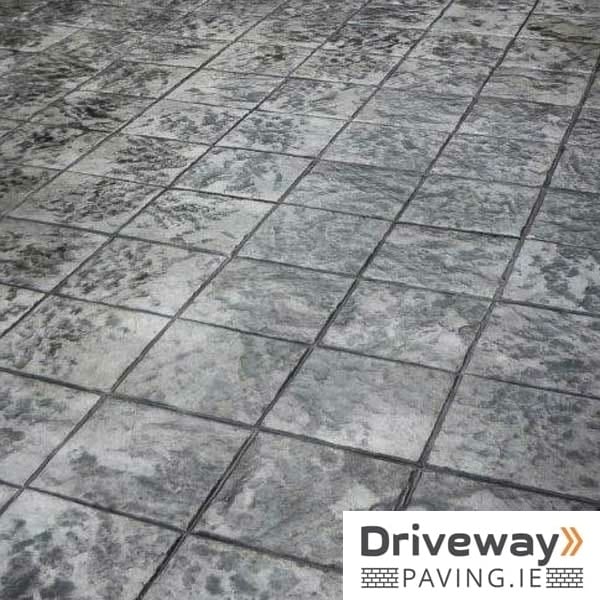
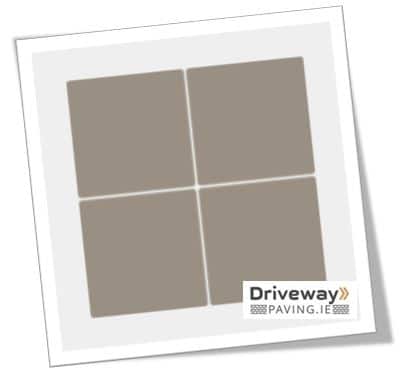
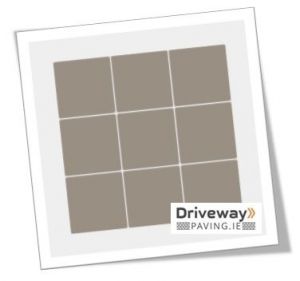
The Spanish Tile (see on the right) pattern consists of vertically and horizontally parallel squared tiles texture placed next to each other. Its symmetry and neutrality make it ideal for exteriors and interiors surfaces where you have greater freedom to choose the furniture placed on it.
Circle decoration
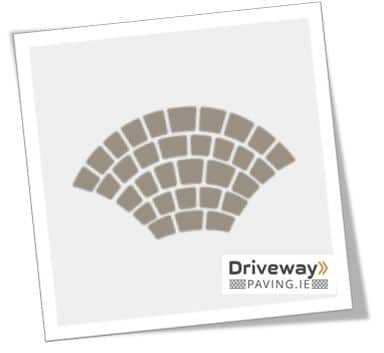
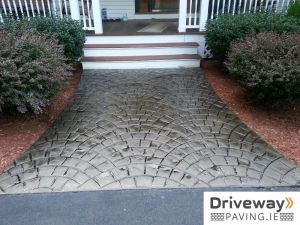
The Circle Pattern (see on the left) consists of many semicircles divided into irregular square, and rectangular pieces placed almost next to each other in a position to create the multilevel circular effect. It is an ideal option for emphasizing spots on your ambient as it adds an aesthetic dimension to your patio, driveway, and entrance area.

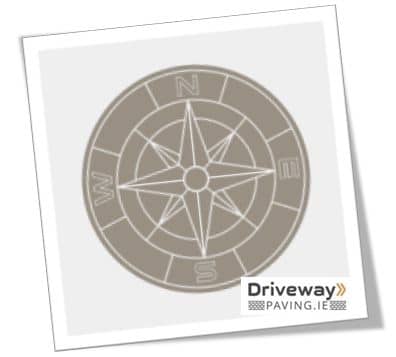
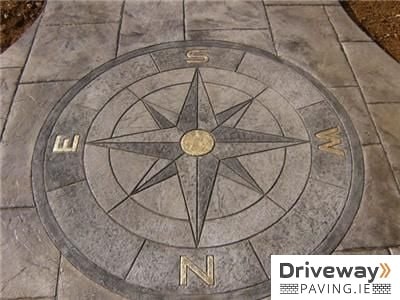
On the Compass Decoration pattern are imprinted the four points of the compass. It is a complicated pattern that can fit perfectly on patios and projects with large areas where the details can be imprinted better.
Slate patterns
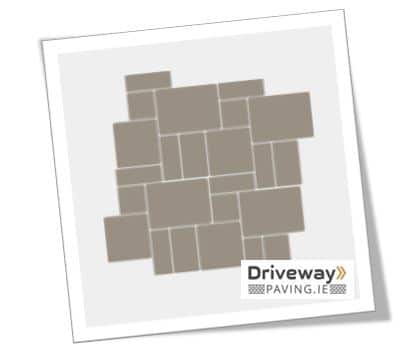
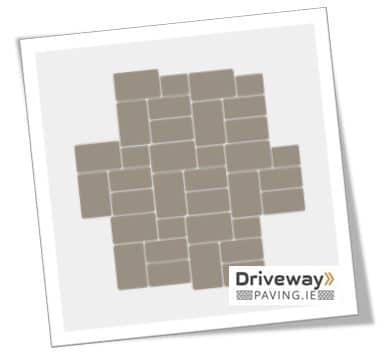
The English Weave pattern imprints the basket weave style with four rectangular slates placed around and in the middle a square to fill the gap. It is another commonly used imprinted pattern for exteriors and interiors areas.
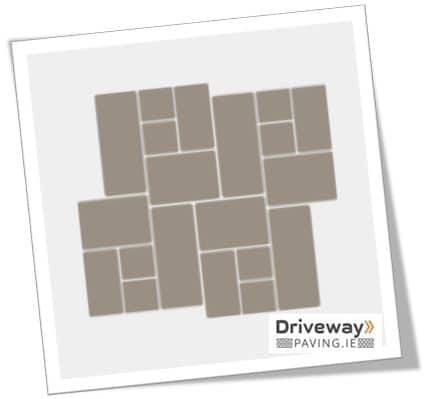
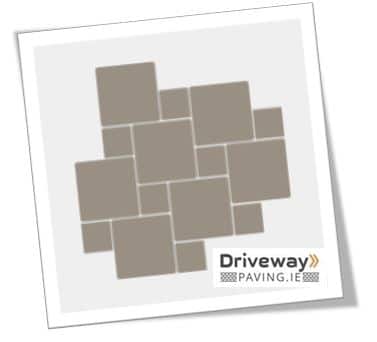
The Ashlar Slate pattern (see on the right) is popular for walkways as it consists of two different sized rectangular and a square. It can provide a natural feeling in the area with its asymmetry.
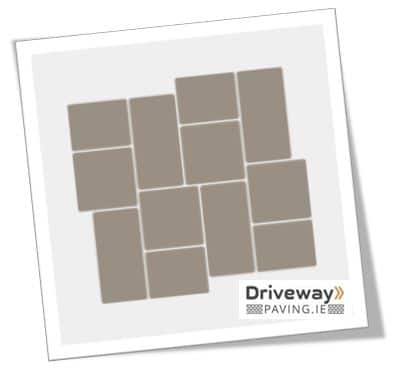
The Grand Ashlar pattern consists of three extra different sized slates; its six slates placed in a puzzled way enrich even more the asymmetric effect.

The Regal Ashlar pattern is perfect for patios. It consists of three different sized squares with the two of them quite larger, and that helps to give another dimension on your stamped project.
The Large Ashlar pattern mimics square, rectangular and octagonal slates placed in a way almost to create the effect of a larger square including them. This is another option that is suitable for interior and exterior surfaces.

The Small Ashlar pattern is like the Grand Ashlar with smaller different sized slates. This style is often used in commercial areas, parking places and pedestrianised areas.
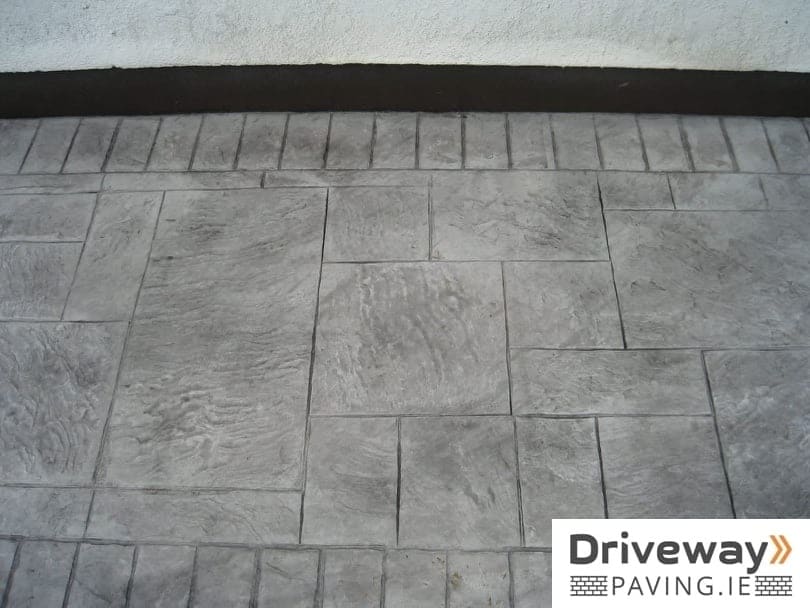
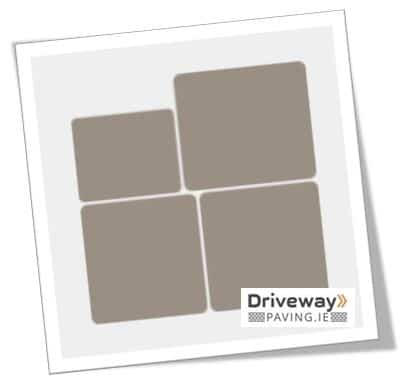
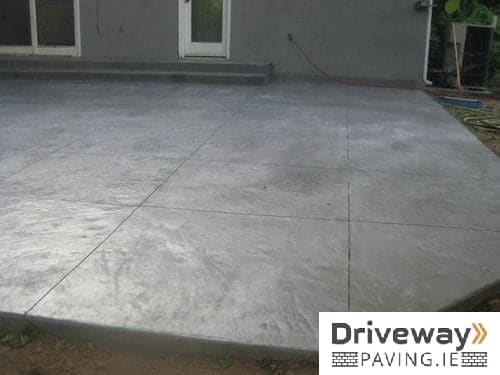
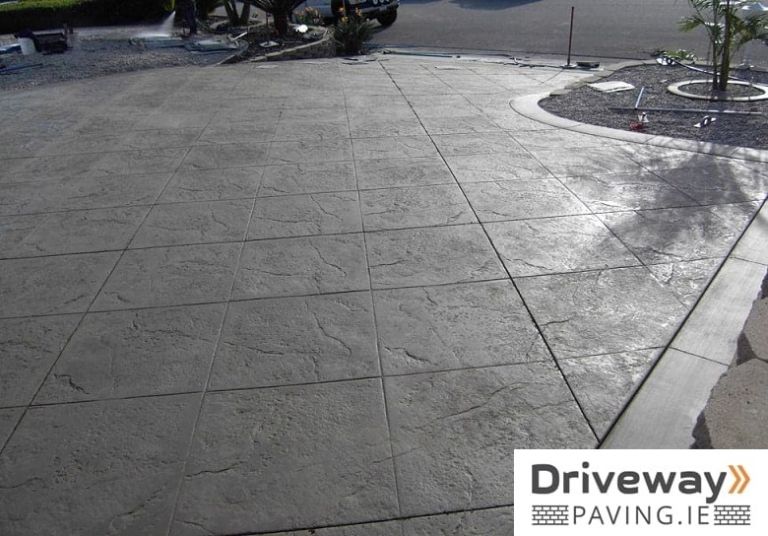
Riven Slate pattern (see on the left below) is similar to the Spanish Tile with larger square-shaped slates effect.
The Walkway Slate pattern consists of smaller squares; these both can be an ideal choice for surfaces that require symmetry, simplicity and neutrality. By using these styles, the focus goes on other decorative features, furniture or machinery placed on them; then the surface comes to frame the whole picture smoothly.
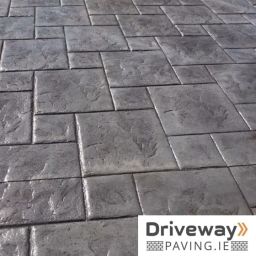
The last on in this category is the Opa Locka pattern (see the first one on the right below), this consists of two different sized squares that are placed diagonally and give an impressive effect on the eyes. Its shape makes it a perfect solution for the front of your home.
Stone and setts
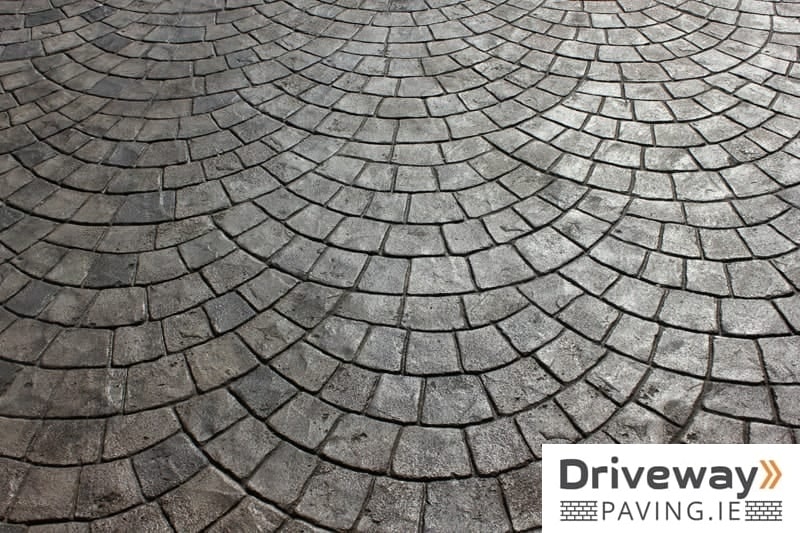
The European Fan (see on the left) is an elegant old-world charm patter consisting of slightly curved rectangular slate stones that are placed to create semicircles in varied shapes.
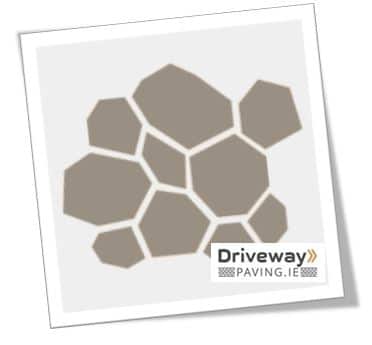
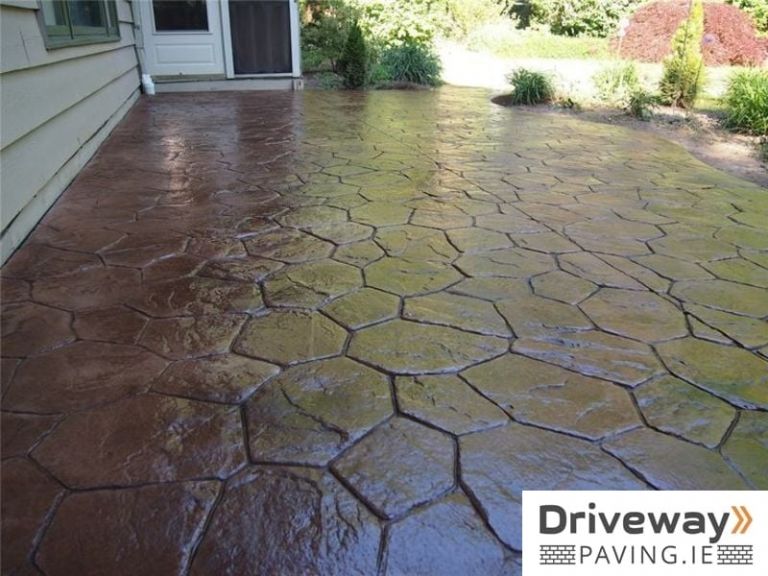
The Random Stone pattern(see on the right) is popular for patios and pool decks as it creates a natural look to your ambient. Its irregular shapes give the effect of natural stones and bring a balance between the concrete imprinted area and the surrounding green lawn.
Border & Edging
Borders are the outer edges of an imprinted concrete surface that give us the possibility to use different patterns and even techniques in the paved areas. Additionally, edges are the boundary lines of the paved surfaces.
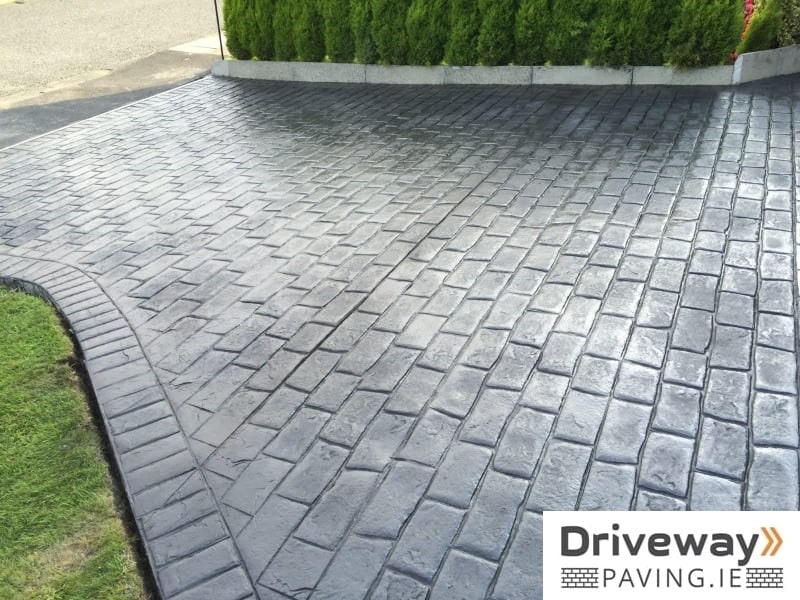
Impressive edges can be used to accentuate the walkway leading to the front door or similar areas you want to highlight. Moreover, if you hand-colour individual stones or parts of the imprinted areas, you can achieve an extra effect. This hand-coloured part provides a natural stone effect and makes your surface eye-catching.
Below, there are four border and edging patterns that offer a nice and clean separation between the concrete imprinted areas.
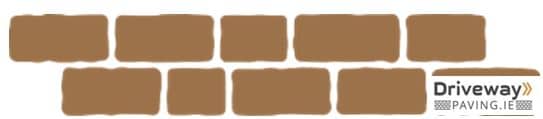
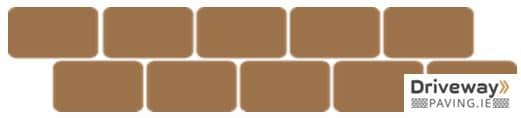


The first one, the Cheshire Cobble Border pattern (see upper left) where the imprinted block surfaces are placed horizontally next to each other in two different lines. Their sizes are different, and the edges are smooth. On the other side, the London Cobble Border pattern (see upper right) is the same with the difference that the shapes are all of the same sizes, and their lines are straight. Another one is the Curb Stone Border pattern (see lower left) where the shape is vertically placed blocks next to each other imprinted concrete block surfaces of the same size and slightly smooth edges. If you want your border to have a wave effect, then this is the ideal pattern to offer the desired results. The last pattern is the Running Bond Border (see lower right) that is similar to the two first ones with the difference that the joint are smaller, and the edges are sharp.
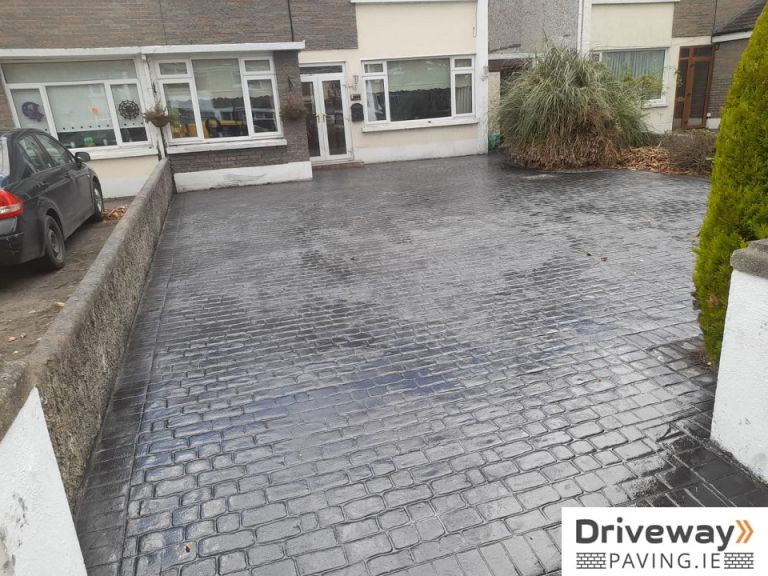
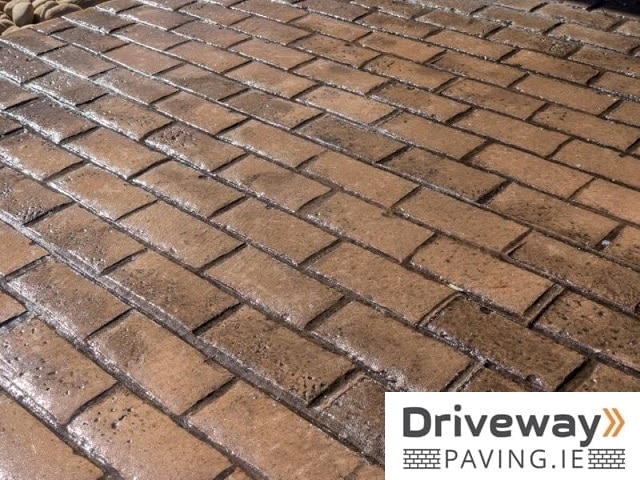
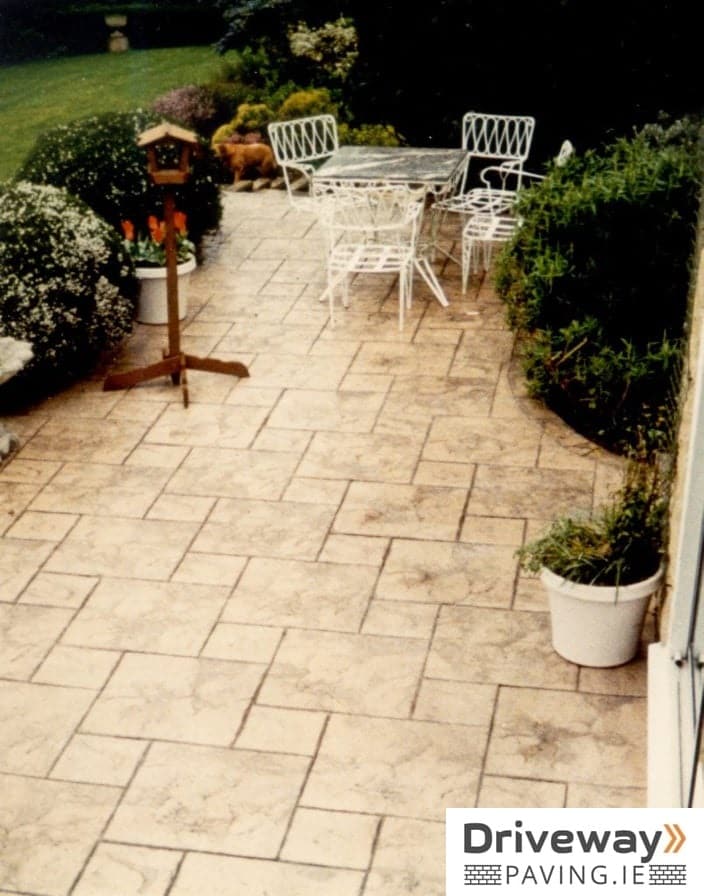
Images of our imprinted concrete work can be found in our Imprint gallery
Colours
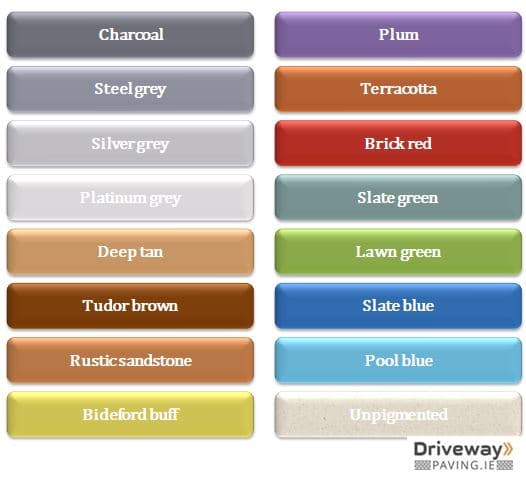
The most impressive part of the imprinted concrete technique is that you can get unique and outstanding results by combining and mixing different colours. This variation can add value to your property and offer a customized result. Below, there are some of the most used colours to give you an initial idea of available choices; for more choices, you can discuss with your imprinted concrete contractor.
Charcoal is a great dark shade of grey that gives a modern breath in your surface.
Steel grey offers a more industrialized style and in combination with heavy metal objects, and the right lighting creates the feeling of a high operational and organized area.
Silver grey is a bit smoother compared to the previous two and can be an ideal choice for interior and exterior flooring.
Platinum grey is the brighter option from the grey group of colours and the easiest to be combined with everything thanks to its neutrality.
Deep tan is one of the brightest colours of the brown pallet that provides a warm and housing atmosphere; great for the entrance area of your house.
Tudor brown is one of the darkest that fits perfectly with the traditional housing design.
Rustic sandstone can be the most suitable option for areas that combine the traditional and the modern style.
Bideford buff is an amazing colour that should be considered for your summer houses.
Plum is an eye-catching colour that can lead to fantastic results is combined properly with the surrounding area and the objects placed on it.
Terracotta is another warm colour that with a suitable imprint concrete pattern gives a wide range of styles.
Brick red is a bright and eye-catching colour that can be ideal for your edged and borders.
Slate green with some hand-coloured parts in brighter or darker shades can fit perfectly in your backyard patio.
Lawn green is another bright and shiny colour that can add a happy characteristic to your project.
Slate blue is a dark shade of blue that gives a modern effect on your property.
Pool blue is one of the brightest shades of blue and makes your surfaces look more extensive; it is ideal for areas where the access to sunlight is limited.
Installation
Pattern imprinted concrete is proper for both the residential and commercial areas. Residential applications are at patios, paths, driveways, steps, swimming pool surroundings, and even conservatory and indoor flooring. On the other side, in the commercial areas, we find imprinted concrete in town centres with low to medium speed vehicular traffic.
Now, the five phases – preparation, concrete laying, colouring and printing, expansion joint, and surface sealing – All of these stages of installation will be described in detail below for those of you who like to understand what will be happening when you hire a contractor.
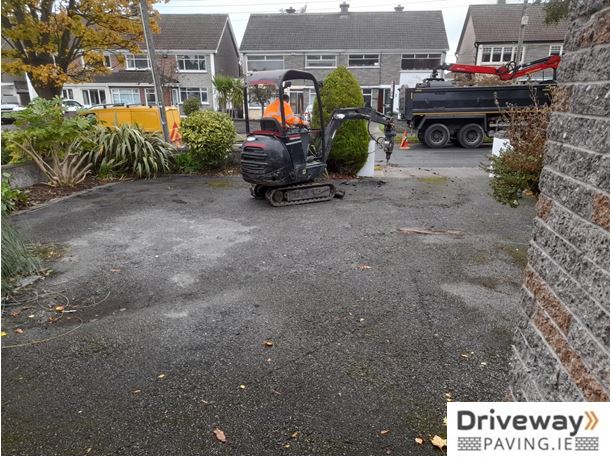
1. Preparation
First of all, you should define the paving area and decide about the patterns and colours of the imprinted concrete that fit the best on your ambient. It is beneficial and convincing to create a plan and to draw the customer’s desired outcome. Moreover, any spoil should be removed, and shutters for line and level placed.
Then the excavation of the ground can start to a depth of minimum 200mm depending on the type of soil. If the surface you have decided for your project to be installed has already been paved, then the removal of any pre-existing material should precede.
As the last step of the preparation phase comes the first layering of 100mm with crushed rock or brick rubber Type 1 MOT that is being compacted carefully in order to provide a stable and solid sub base. To achieve long-term durability of paving the right thickness, compaction and the type of material are vital.
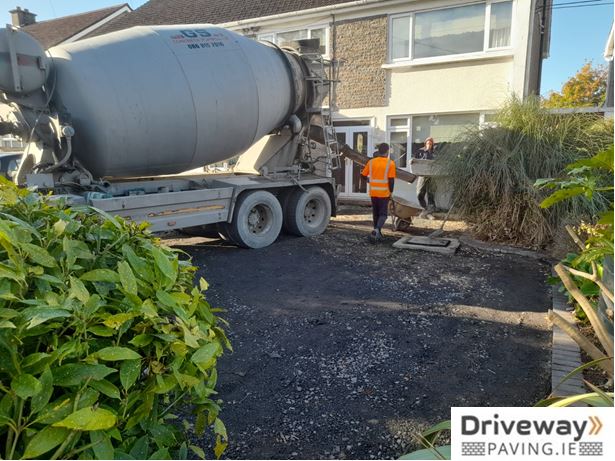
2. Concrete laying
In the second phase, the concrete will be poured into the area. It may be spread straight from the truck onto a driveway if access allow, or pumped through or around a house to the back garden if needed.
Next the concrete is spread and levelled , and the thickness of the concrete slab should be 100-150 mm thick for a standard driveway. Firstly the concrete is roughly distributed by shovel, and then the concrete surface is being floated smoothly, and the edges are being trowelled. It would be best if you took care of water drainage into drains and planters.
Then follows the hand-trowel that offers a smooth finish on the concrete, and no high spots or hollows are left.
3. Colouring and printing

After waiting until the extra water has evaporated, and the concrete has been floated and tamped well, the surface hardener mixed with the special colour dyes is applied. The application colour surface hardener is essential for strengthening the surface of the area and improving its resistance impact; a minimum rate of 2.5kg/m² for wear resistance.
If you want to achieve a customized outcome, you can blend multiple colours; then you will have a unique effect. Any spillage or overthrow during the process of colouring should be cleaned up immediately.
Before starting the printing process, apply release agent that will avoid any concrete sticking to the mats or lifting as they are being removed. Some release agents contain a dye that enhances the colouring.
Directly after that, start the imprinting process via texture mats; their size is usually between 300mmx300mm and 900mmx900mm. For areas where the full mats cannot fit, there are floppy mats that can be folded or twisted to cover the whole surface. Alternatively, if the imprinted concrete pattern is not too complicated, the construction of the joints near the borders or edges can be done by hand. Also, there are freeform mats that do not have definite edges and are larger than the pattern mats; their size can be up to 1.8m x 1.8m. This technique enables you for faster results with no high-level skills but cannot achieve more complicated decorative patterns.
Remember that in the beginning the edges should be formed and the borders marked out. Also, for practical reasons and smoother imprinting process, the installer should choose a side that will help to have easier and faster access to the whole area afterwards. The pattern should be built up gradually, and releasing clear oil will stop mats from sticking.
4. The expansion joints
After 24 to 96 hours, depending on weather conditions and humidity levels, the concrete will be cured.
For the next step comes the cutting of expansion joints to minimize any risk of cracking on the imprinted concrete surface; this keeps the cracks ‘invisible’ and every joint is prepared to cope with the crack. The control joints can be created during the laying of the surface or later when the contractor return to apply l the sealant.
5. Surface sealing
After expansion joint cutting, the final process of applying the surface sealer follows. The material is a solvent-based acrylic sealant – that allows the concrete to breathe – with a slip-resistant additive that ideally should be applied twice to protect the colour from UV light fading and guard the concrete against spills and stains.
In order to emphasize more the inner or outer part, darker tint can be applied on the border pattern; the colour effect starts to show through by pressure spraying the first coat of the lacquer. Although there are satin and matt silicon-based finishes, most commonly used are the gloss finishing sealants because they are less expensive.
Then the first coat soaking is applied, and after checking it all the time, we should keep adding coat until it is fully protected.
Finally, when all operations are completed your area can be free to traffic after four to seven days as the curing period can vary depending on the project characteristics and the time season of the year.
Maintenance
Imprinted concrete pattern requires minimum maintenance and a well-laid plain grey concrete can be down for years and still maintain its excellent condition. By keeping it clean and re sealed occasionally, you achieve the most important part for its maintenance. Another simple way to keep your imprinted concrete project look like new is to pressure wash it from time to time. Moreover, once in every two to five years, the acrylic-based sealant should be re-coated. In case of any damage, the resurfacing of the affected and surrounding area should be done by a professional to prevent further damage and restore the surface.
You can find more information about imprinted concrete on our Concrete page
Further information can also be found on Wikipedia
For any consultancy and quotation for your imprinted concrete project, get in touch via our WhatsApp button on the right of the screen or give us a call on 0852175888.
